Google is continuously changing their security and authentication process, this tutorial may become obsolete quickly but the principles remain similar and you can submit a ticket for our team to guide you. The technique we are using in this case is using https://uk.wallapop.com/ , to grant us access to our google account , without really creating an account at Wallapop.
Download & use the latest RTILA Studio build #
Make sure you have download the most recent build of RTILA Studio as we continuously improve our profile session feature. To do so you can visit our GitHub Repository and download the file version which is the most recent.
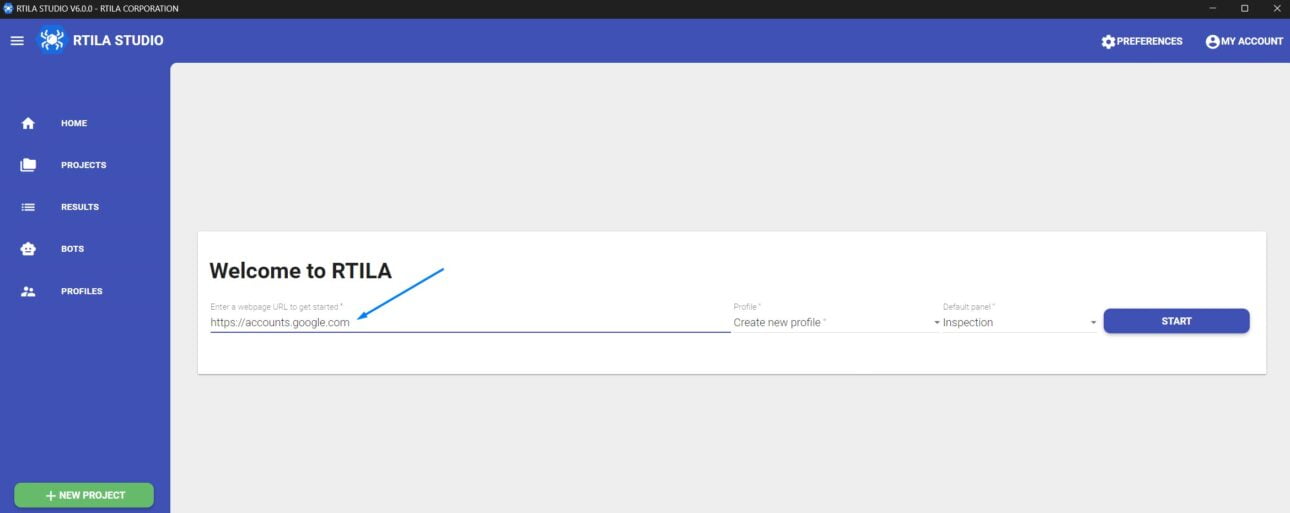
Create new project with Google Account URL #
The first step is to create a new project that will have https://accounts.google.com as its default URL, see below.
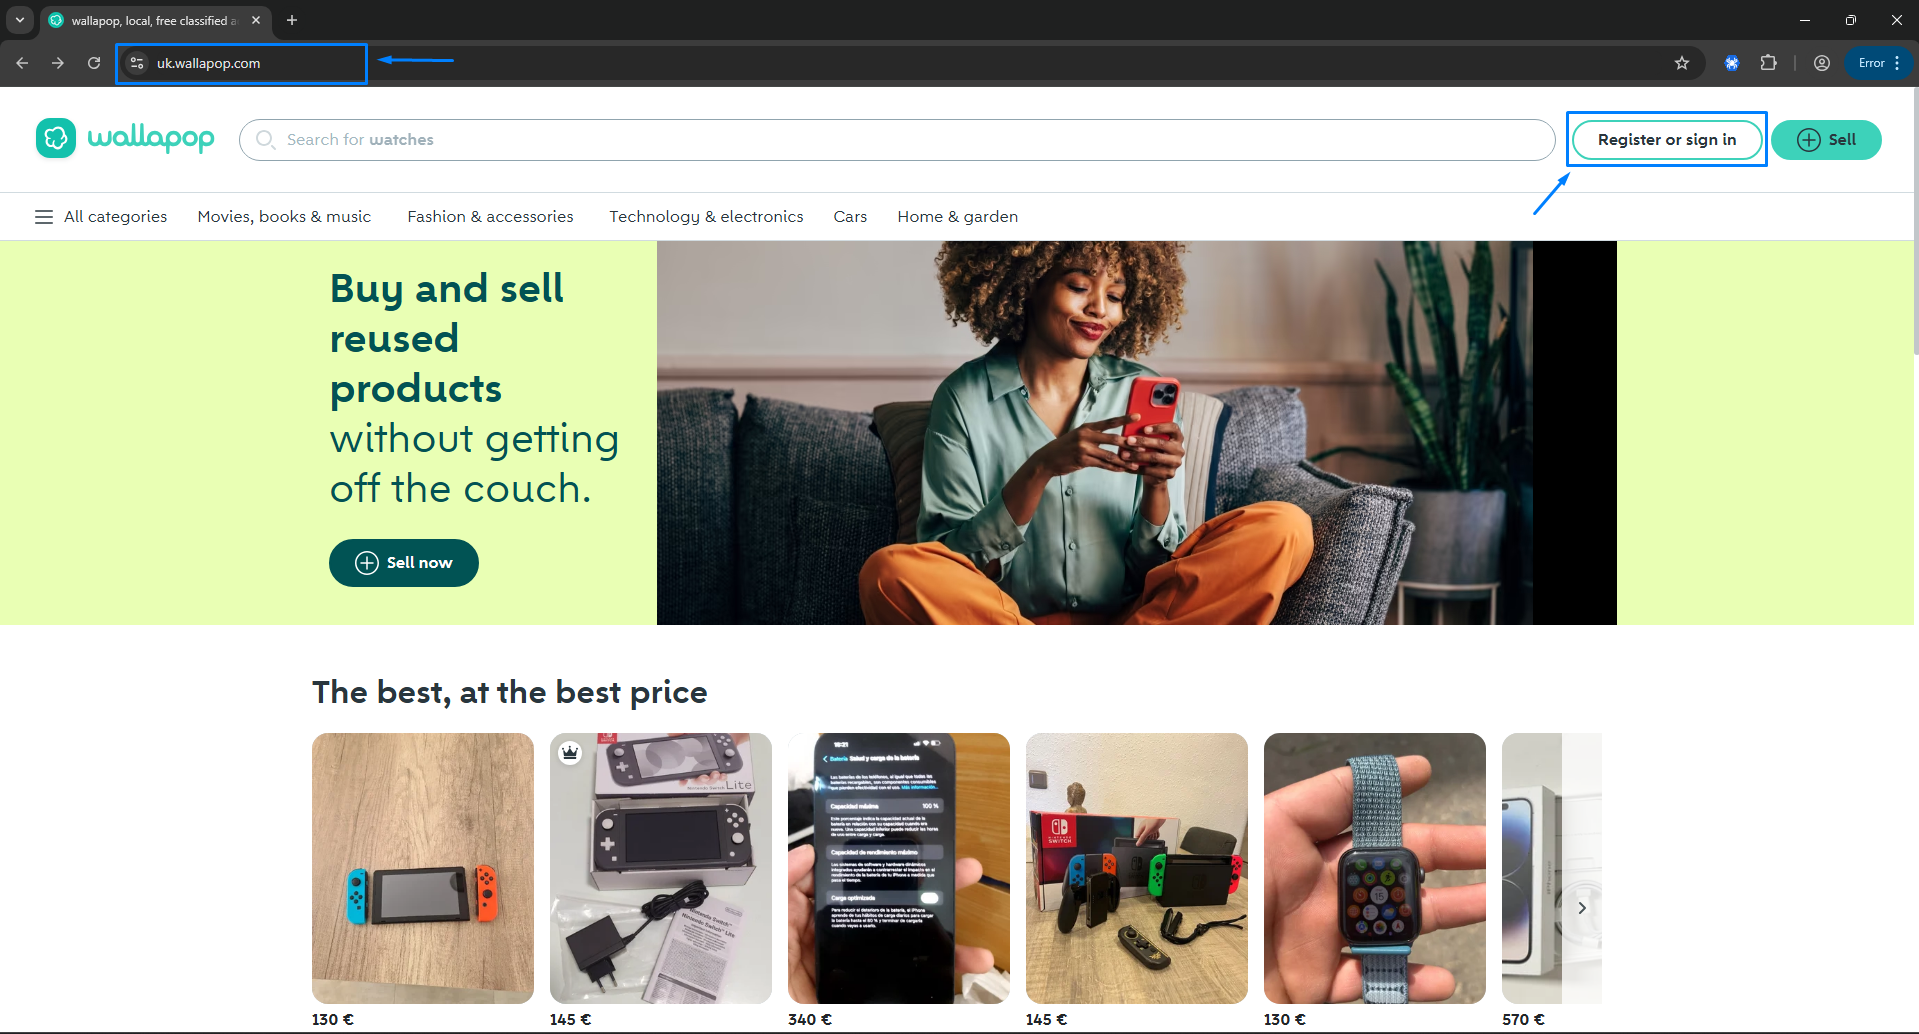
Go to https://uk.wallapop.com/ #
In order to access Google account we will use this site as a bridge that will help us access google account. It creates the Google Account cookies and the browser session with RTILA now is logged in with Google
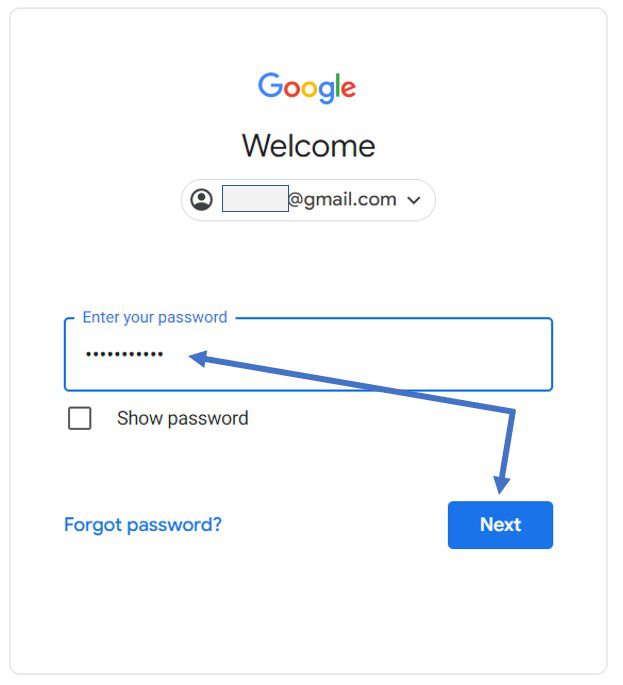
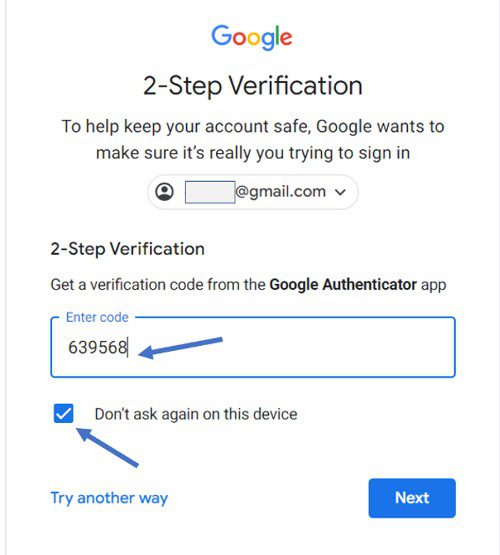
Choose to sign in using Google #
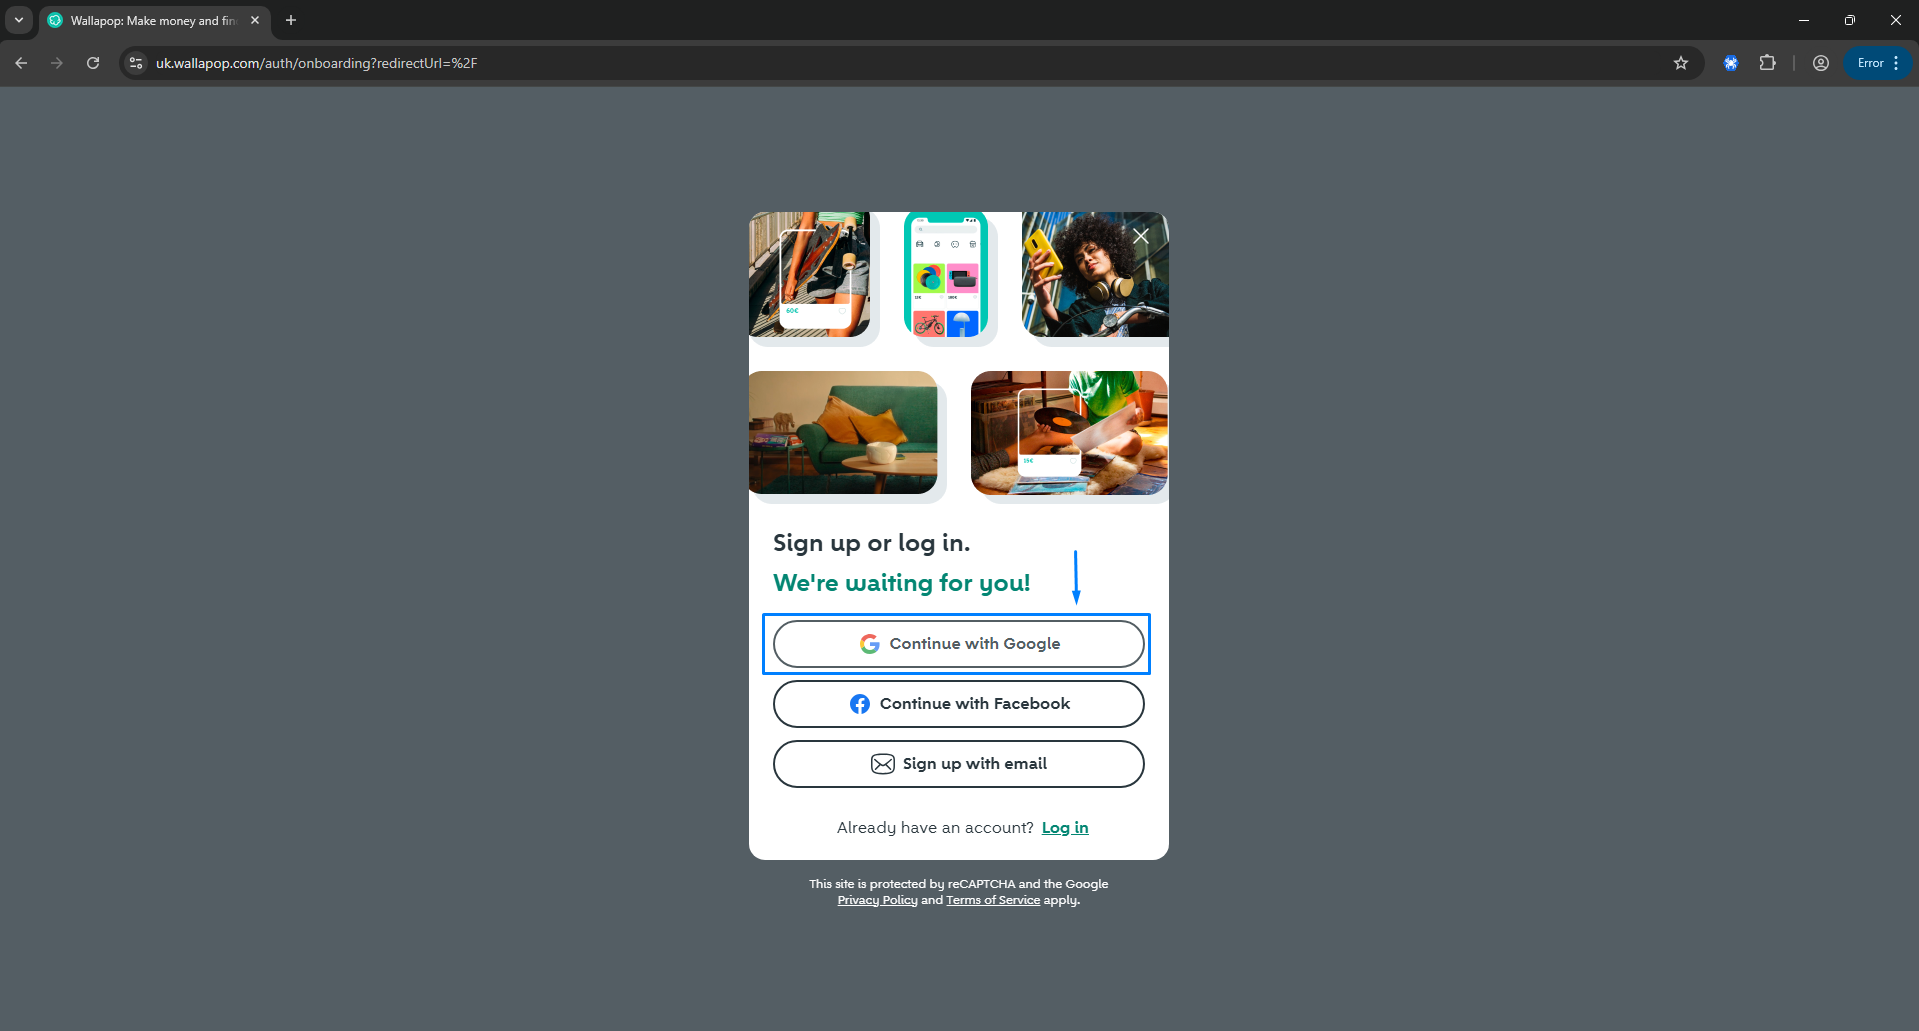
Then sign in to your account by following the steps

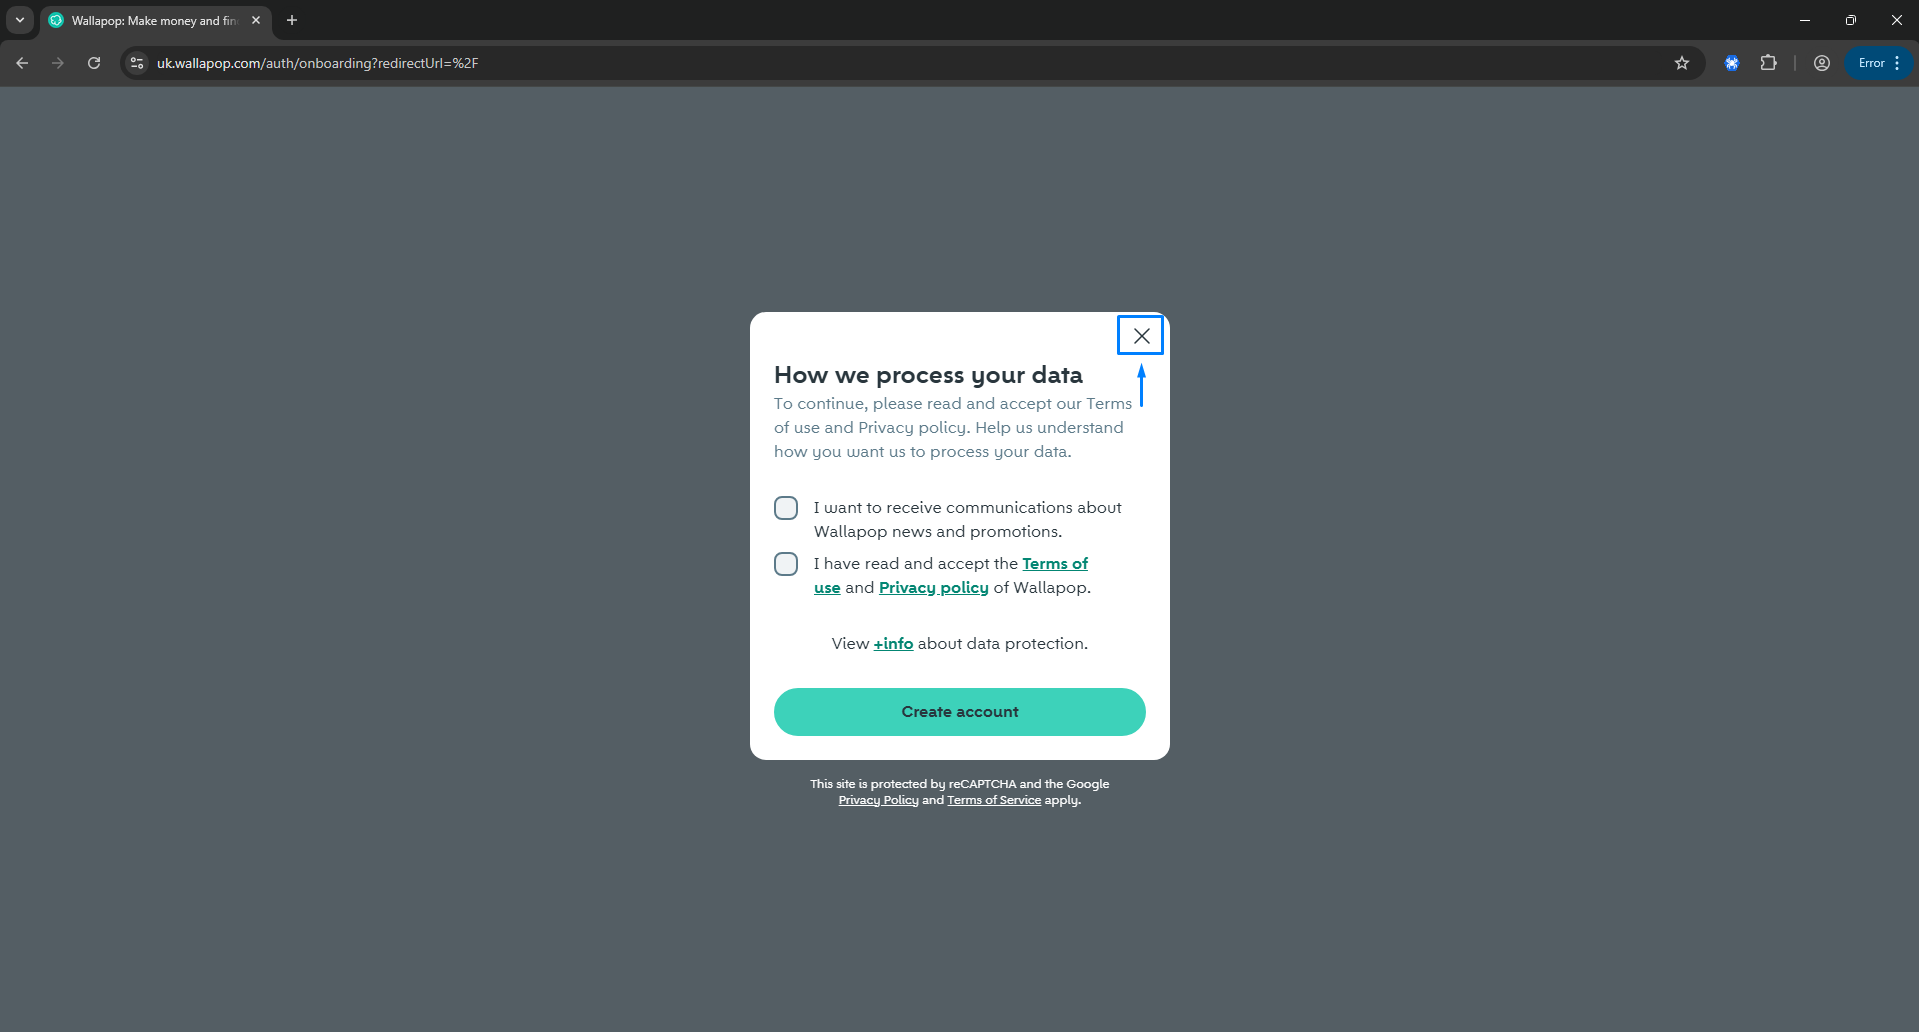
Click close and skip creating an account at Wallapop #
Once you are done logging in using Google account , click close to skip creating the account at wallapop

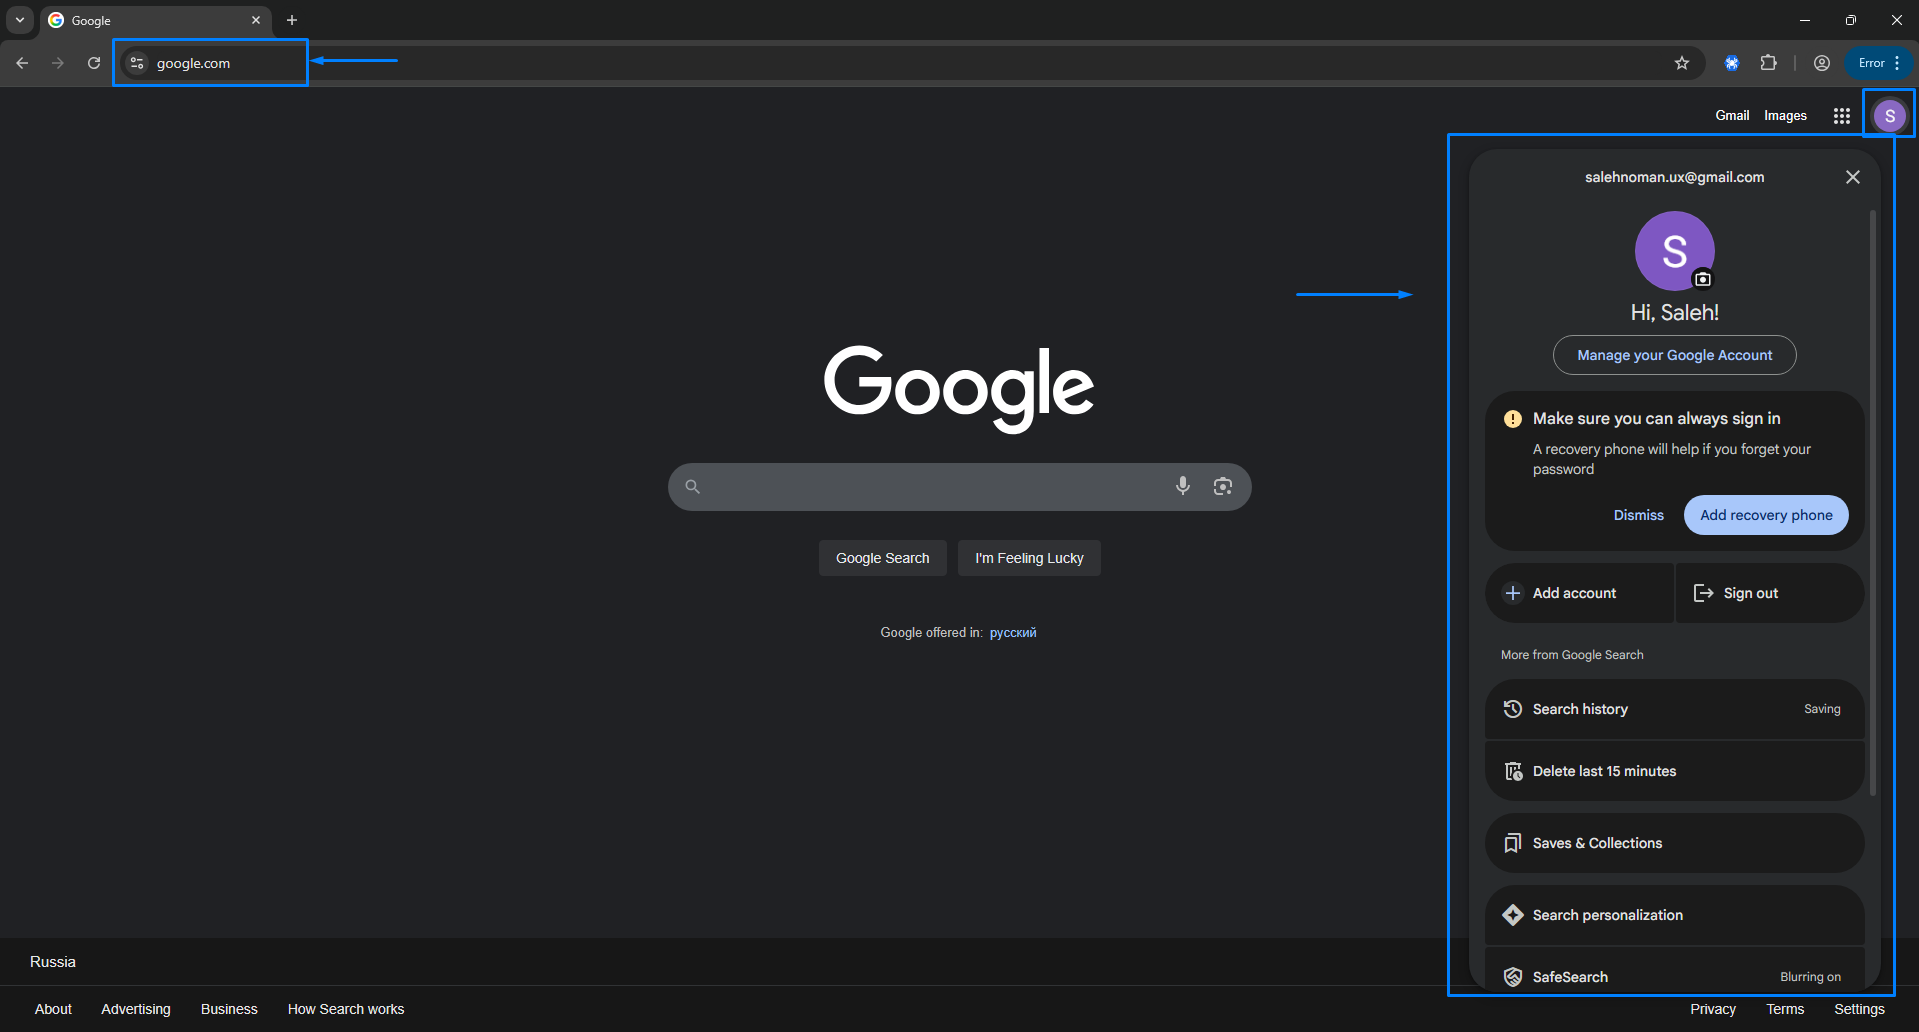
Go back to https://www.google.com/ #
Now you can go back to https://www.google.com/ , and there you will see that your google account has been saved into your project.
Re-use this Profile Session in other projects #
RTILA Projects are able to piggy back on existing Profile Session, take away the hassle of creating a new session for each project that involves Google authentication. In this example we will create a new project to access our Gmail, and we will select the existing Profile Session to be automatically logged in with Gmail. Enter https://gmail.com as the project URL and then in the Profile dropdown select the Profile Project that we created earlier.
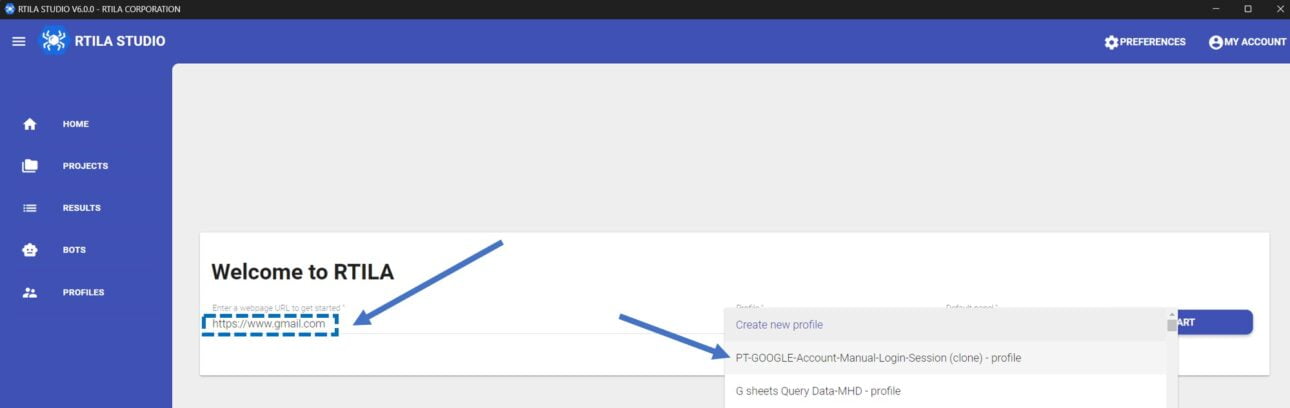
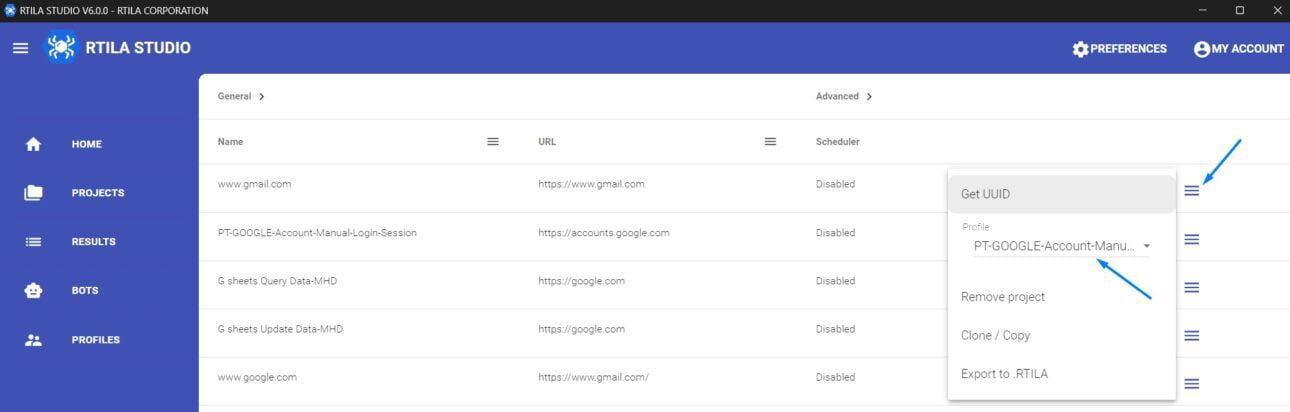
Alternatively you can use the More Option button and then select the profile to use for this new project. See below
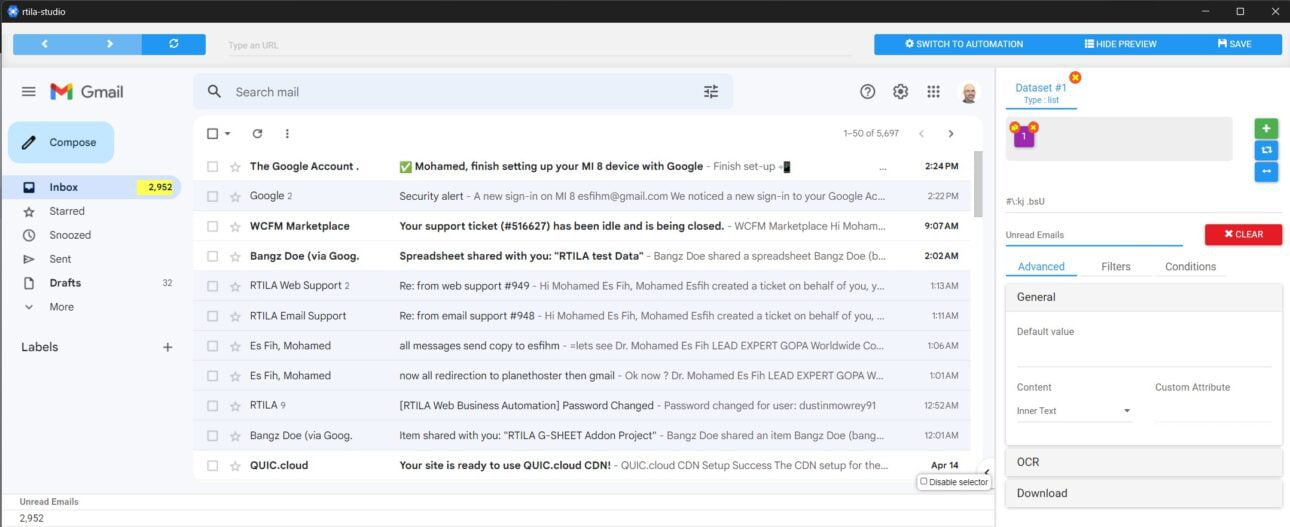
Once you have selected the Profile session and you open this project, you will see that you are already logged in to Gmail.
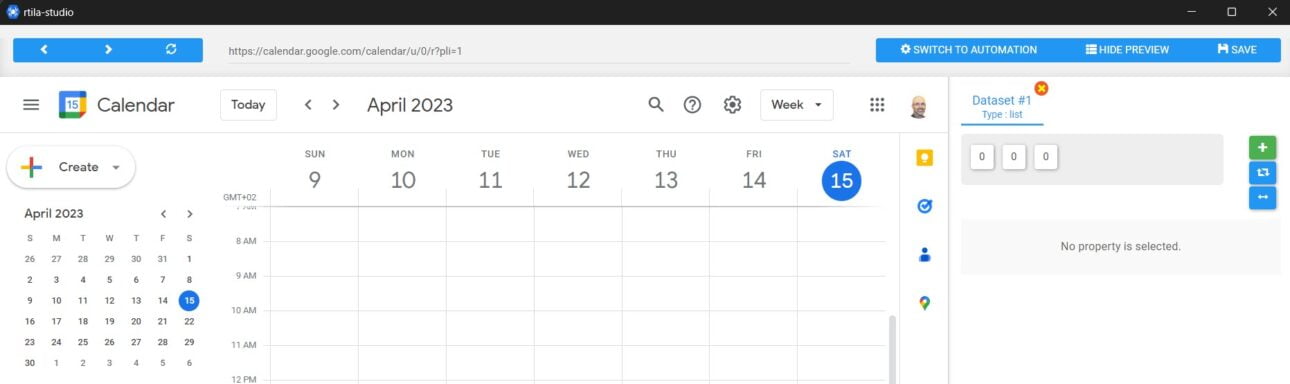
And likewise if you visit other Google Apps, such as Google Calendrer you will be automatically logged in, see below.