Use Case #
We have created a new Variable type that can allow you to send your prompts to ChatGPT API and get the answer back for use in your automation flow or simply for saving it as a property in you results section. This is very useful for your data enrichment and or content generation needs and you can use the response from ChatGPT API to create blog articles out of keywords or a title, or other outputs that can be assisted by Ai content creation.
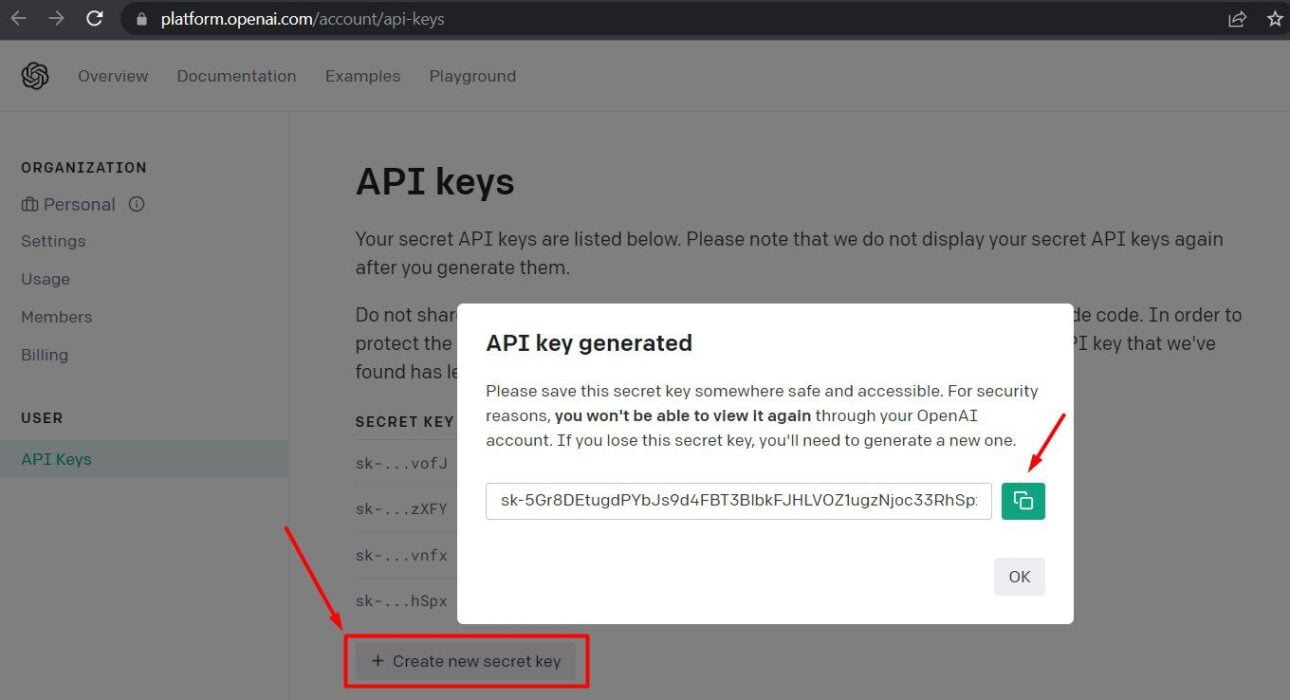
Get your ChatGPT API Key #
Before you can starting using this command, you need to first generate a ChatGPT API Key. You can find your API keys on this URL of your OpenAi account: https://beta.openai.com/account/api-keys
You will need to click on “Create new secret key” and then copy the generated key as shown in the screenshot below.
Add your ChatGPT API Key to the Smart (ChatGPT) command #
Once you have copied or saved your API key, you can add it to the command as shown below.
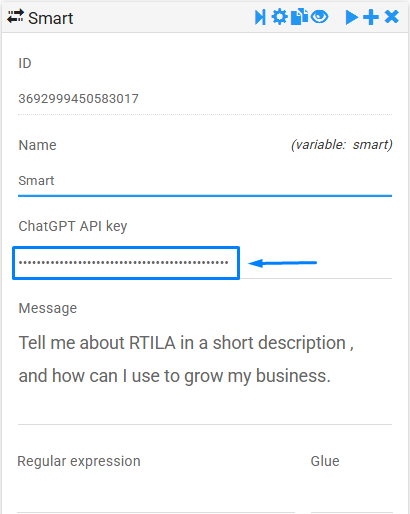
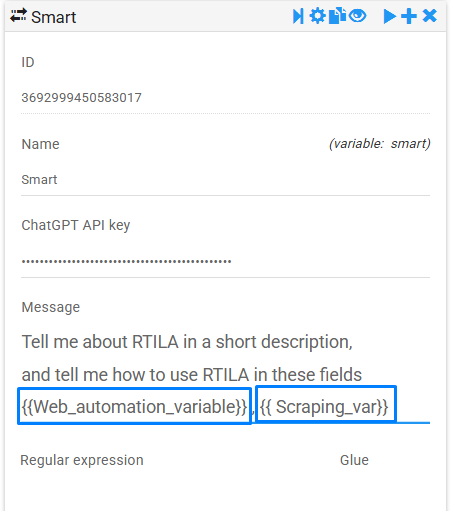
Add your prompt and use RTILA Variables if needed #
Once you have added your API key to the command , you can now add your prompt and use RTILA variables with the format {{Variable_name}} within your propmt as shown in the image below.
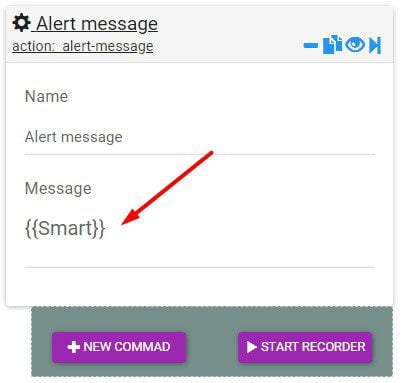
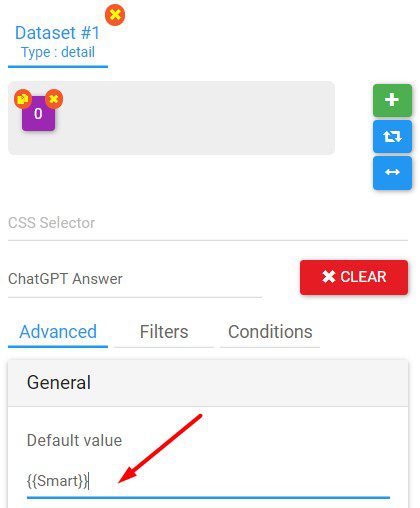
Get & Use ChatGPT API response #
Once you will run this automation it will send your prompt to and get an answer back from ChatGPT API. The response is stored in the Smart variable itself and you can call and use this response value by calling this syntax: {{Smart}}
You can use the {{Smart}} value in other automation commands such as an Alert Command. But you can also save it in a DataSet property. See below the two examples.