Quick Demo Video #
Today ChatGPT have launched their API and we have immediately built a first Automation Template on how to use the Power of ChatGPT to enhance the SEO potential of your WooCommerce website in a fully automated way. The Automation Template is already available for free to our users to experiment with and learn from. You just need to replace/add your OpenAI API key and you are good to go. Watch the accelerated demo and then dive in and apply it to your WooCommerce websites.
Download and or Import this Template #
This Template has already been added to our Template Catalog which you can reach from RTILA Studio > New Project > Iport project. Or you can also download it directly from here: https://drive.google.com/file/d/1CysgJuSX6nozUGg10KnZO6ZpuMaNXe-8/view?usp=sharing
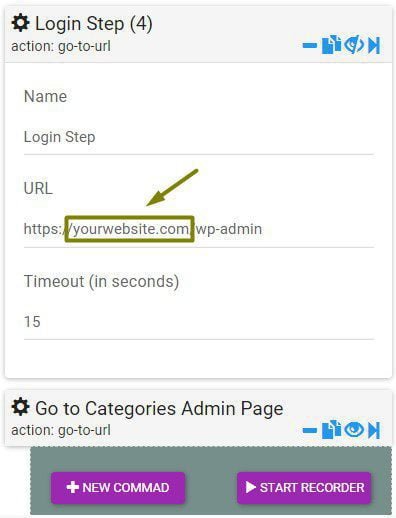
Update your WooCommerce URLs #
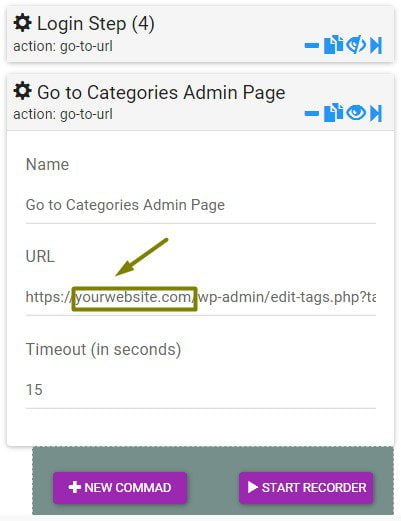
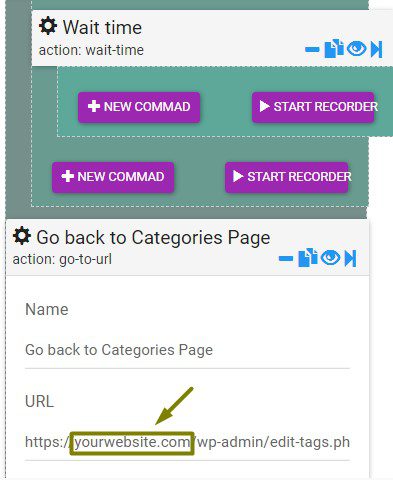
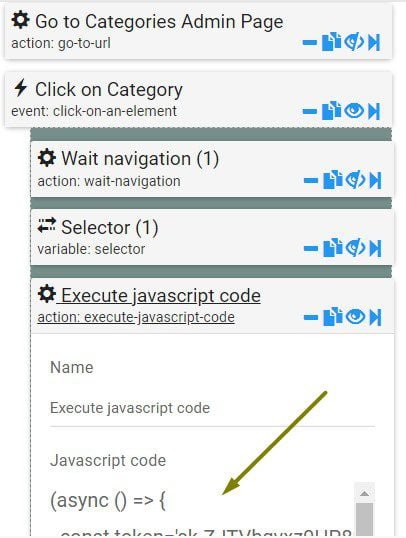
There are 3 locations in this Automation Template where you need to update your WooCommerce Admin URLs.
Update your ChatGPT API Key #
There are few changes that you can make inside the Execute JavaScript code Command, see below.
The only information that you must change in the JavaScript code of the Execute JavaScript code Command is your ChatGPT API key which stats with sk- in our example.
Login then go here to find or generate your ChatGPT API Key:
https://platform.openai.com/account/api-keys
A second information that you can tweak to your liking is the prompt we are using to generate the description. You can change the number of words or anything you may like to adapt it to your use case. But be careful to only change this sentence and not any code that precedes or follows it.
We copy below the full JavaScript for you to learn from and tweak as you see fit. The same approach can be used to communicate with other Ai tools or API based systems.
(async () => {
  const token='sk-dwdwdwd7777DDDDDmZavD9ajZwgvofJ';
  const response = await fetch('https://api.openai.com/v1/chat/completions', {
    method: 'POST',
    headers: {
      'Authorization': `Bearer ${token}`,
      'Content-Type': 'application/json'
    },
    body: JSON.stringify({
      model: "gpt-3.5-turbo",
      messages: [{"role": "user", "content": `Create a 30 words seo friendly description for this software product category: ${window.localStorage['RTILA_VAR_1677780406631']}.`}]
    })
  });
  const content = await response.json();
  console.log(content);
  window.localStorage.setItem('chatgpt-response',content.choices[0].message.content.replace(/\r?\n|\r/,""));

document.querySelector('body').setAttribute('chatgpt-response',content.choices[0].message.content);
})();
Change the ChatGPT model #
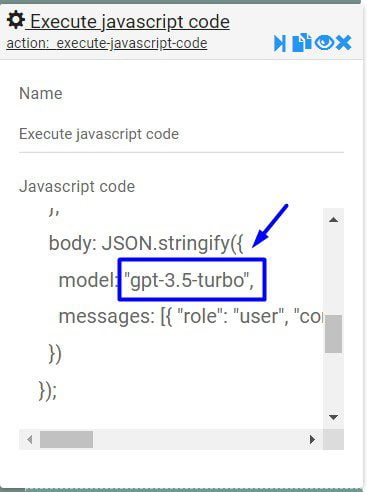
In this example we are using the ChatGPT model 3.5 turbo, but you can use a different versions. Simply replace the model reference in the JavaScript code.
The currently available text models are:
gpt-4 (and variations)
gpt-3.5-turbo (and variations)
text-davinci-002 (and variations)
Full list of models available here
JavaScript and RTILA variables access #
Note that you can call and interact with RTILA variables within your JavaScript code. In the example above we are doing 2 variable data exchanges between the JavaScript command and the rest of the automation blocks:
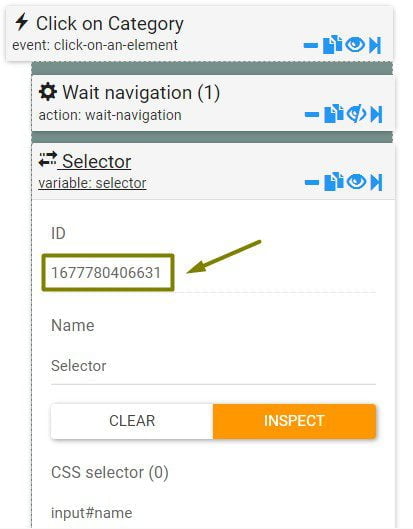
1- The RTILA Selector Variable command which is called in the JavaScript using this syntax: RTILA_VAR_1677780406631
Where 1677780406631 is the unique variable ID that you can find in the Variable bloc header, see screenshot below.
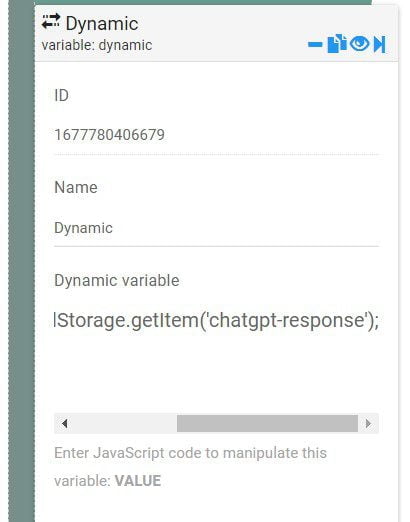
2- The ChatGPT response is saved in the local storage variable called “chatgpt-response” which is then saved into the Dynamic Variable command using the following JavaScript code. This approach allows you to save any data received from an API and use it elsewhere and further in your automation flow including as a value for a Property.
VALUE=window.localStorage.getItem('chatgpt-response');